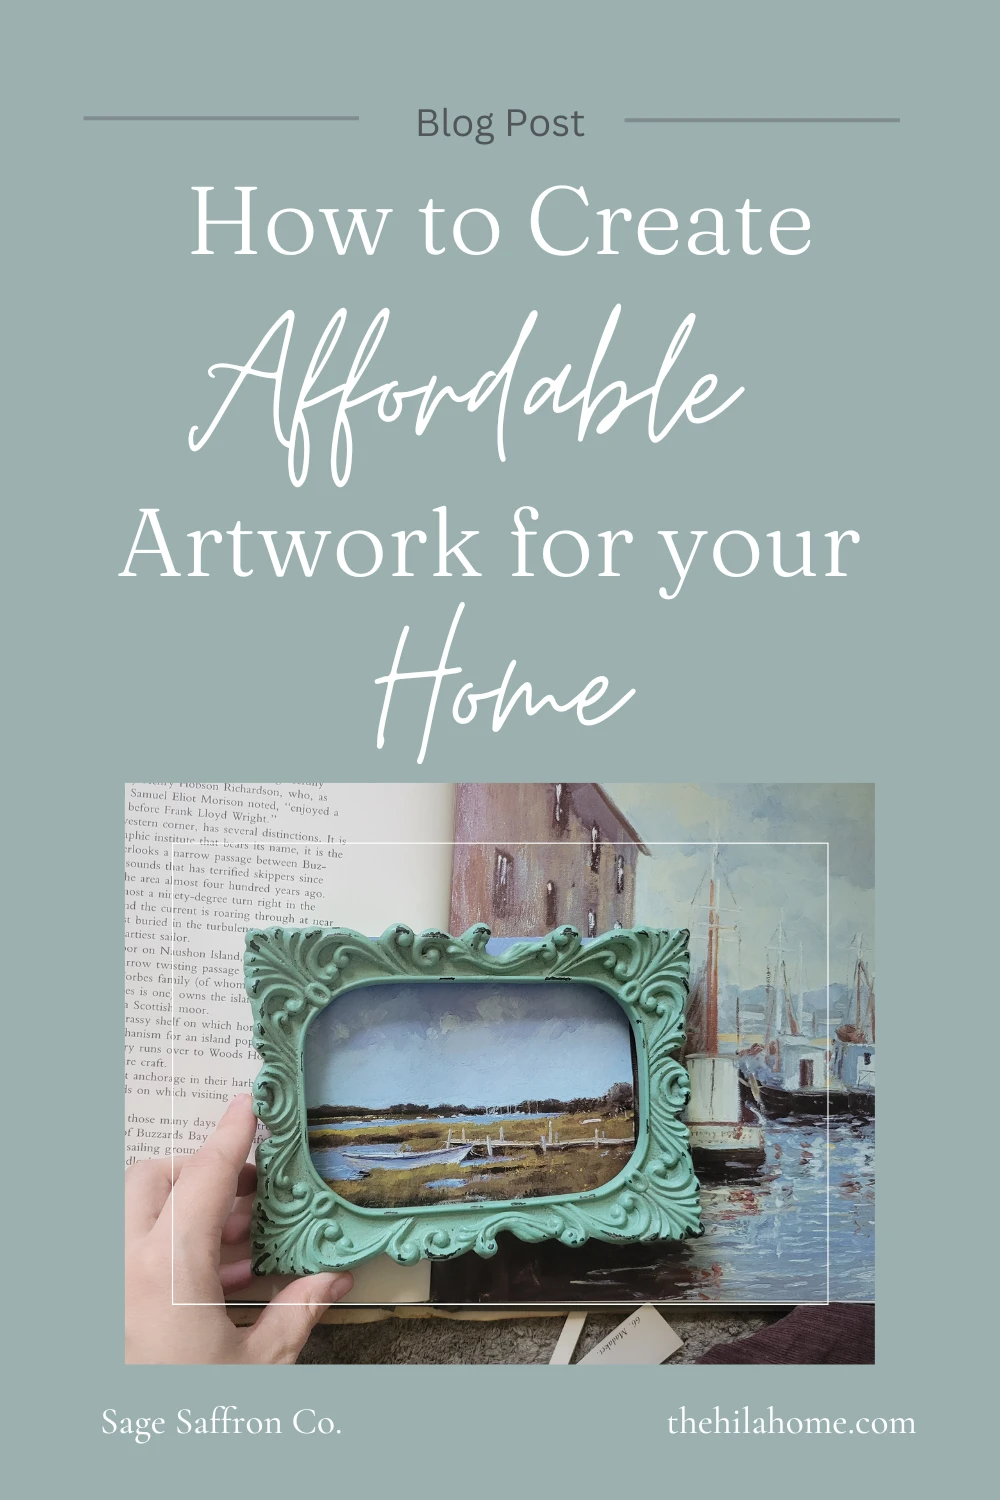
How to Create Affordable Artwork for Your Home, DIY Home Decor
A cheap way to brighten up your home is to add artwork to the walls, but artwork (especially paintings, or pictures of paintings) can be pricey. A budget-friendly option that allows you to add timeless pieces of art to your home. I used this in my home to make my office extension feel just a little bit more cozy. If you are looking for a thrifty, do-it-yourself way to add a little character to your home this might just be right up your alley.
Note: This blog post contains affiliate links, which means I make a small commission at no extra cost to you. See my full disclosure here.
Making Art from Coffee Table Photobooks
Supplies:
- Photobook
- Frame
- Scissors
- Optional: Tape
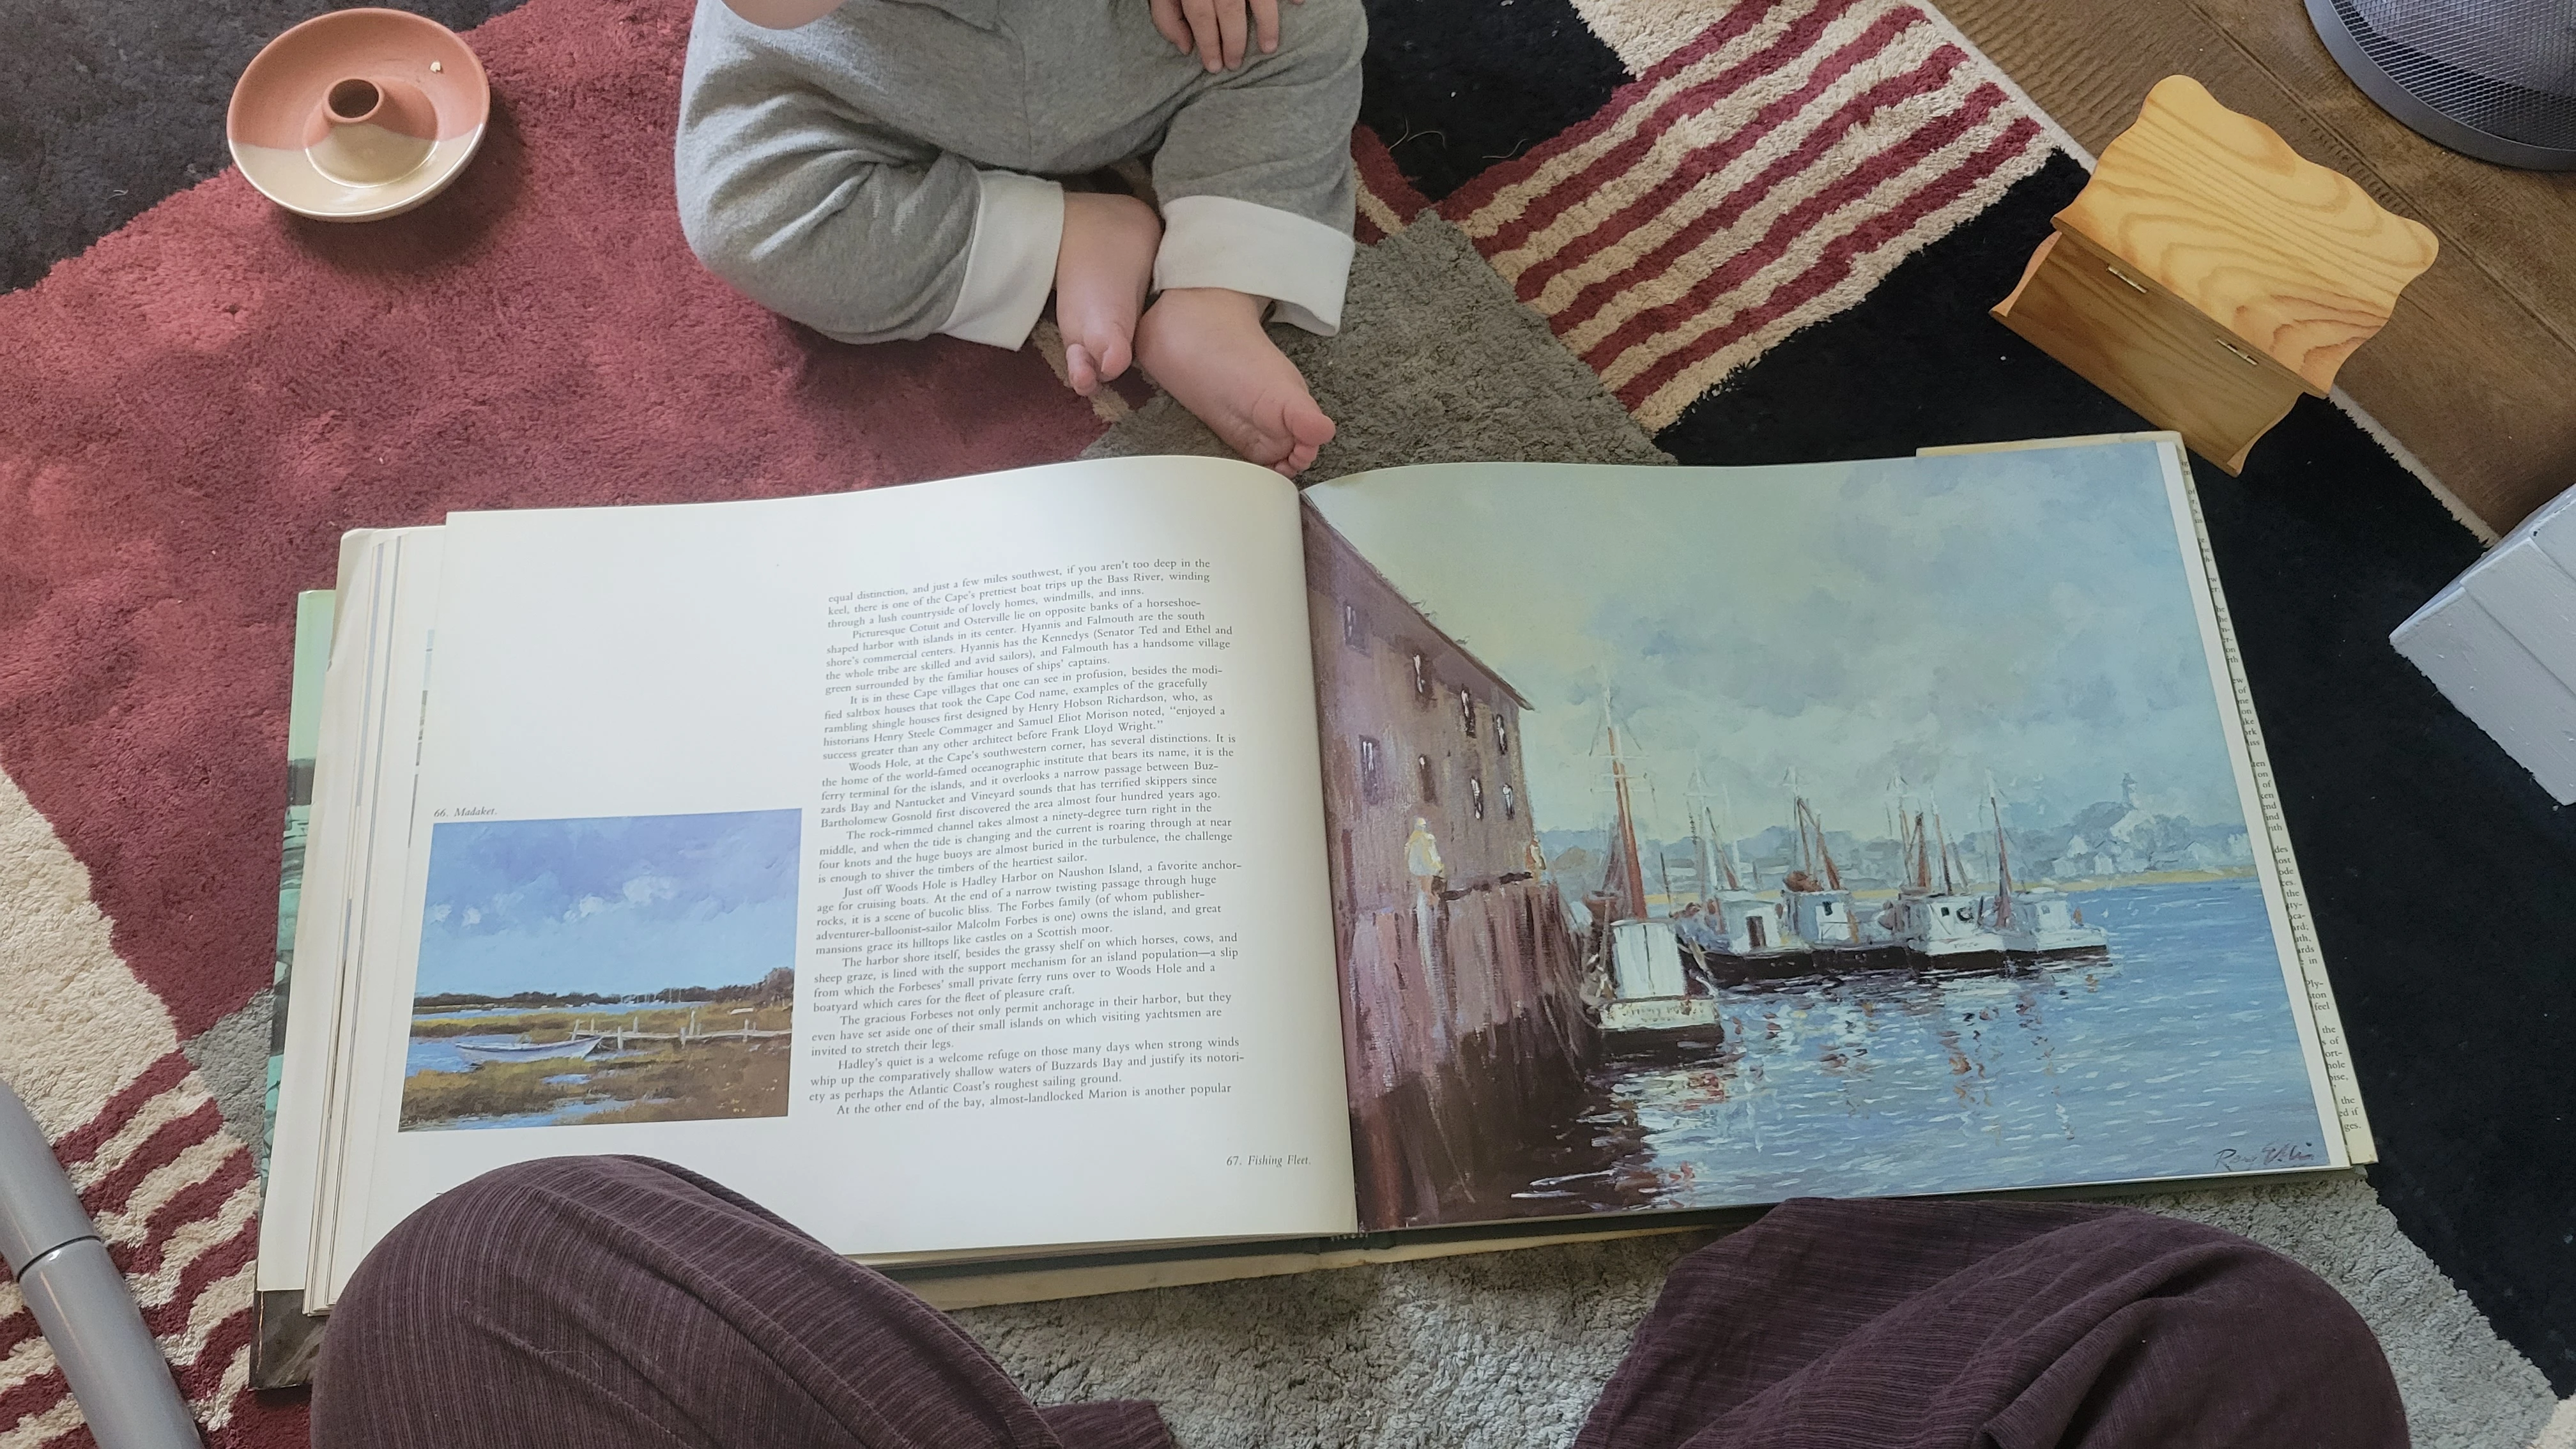
1. Find a Photobook or Artbook with Beautiful Art
Probably one of the hardest steps of this process will be finding a photobook that fits the style and size of the piece of artwork you need. I thrifted this old coffee table photobook of prints of maritime oils paints from an antique shop, and if you are not picky you can definitely find something, but if you want something more specific I've tagged a couple of coffee table photobooks of traditional artwork below in the products section of this blog post. But essentially, you are going to want something that is not only the style you are going for but also the size. This book is relatively big and I only needed it for smaller, desk top artwork, but if you are searching for something bigger you may want to dig a little deeper to find something the size you are looking for.
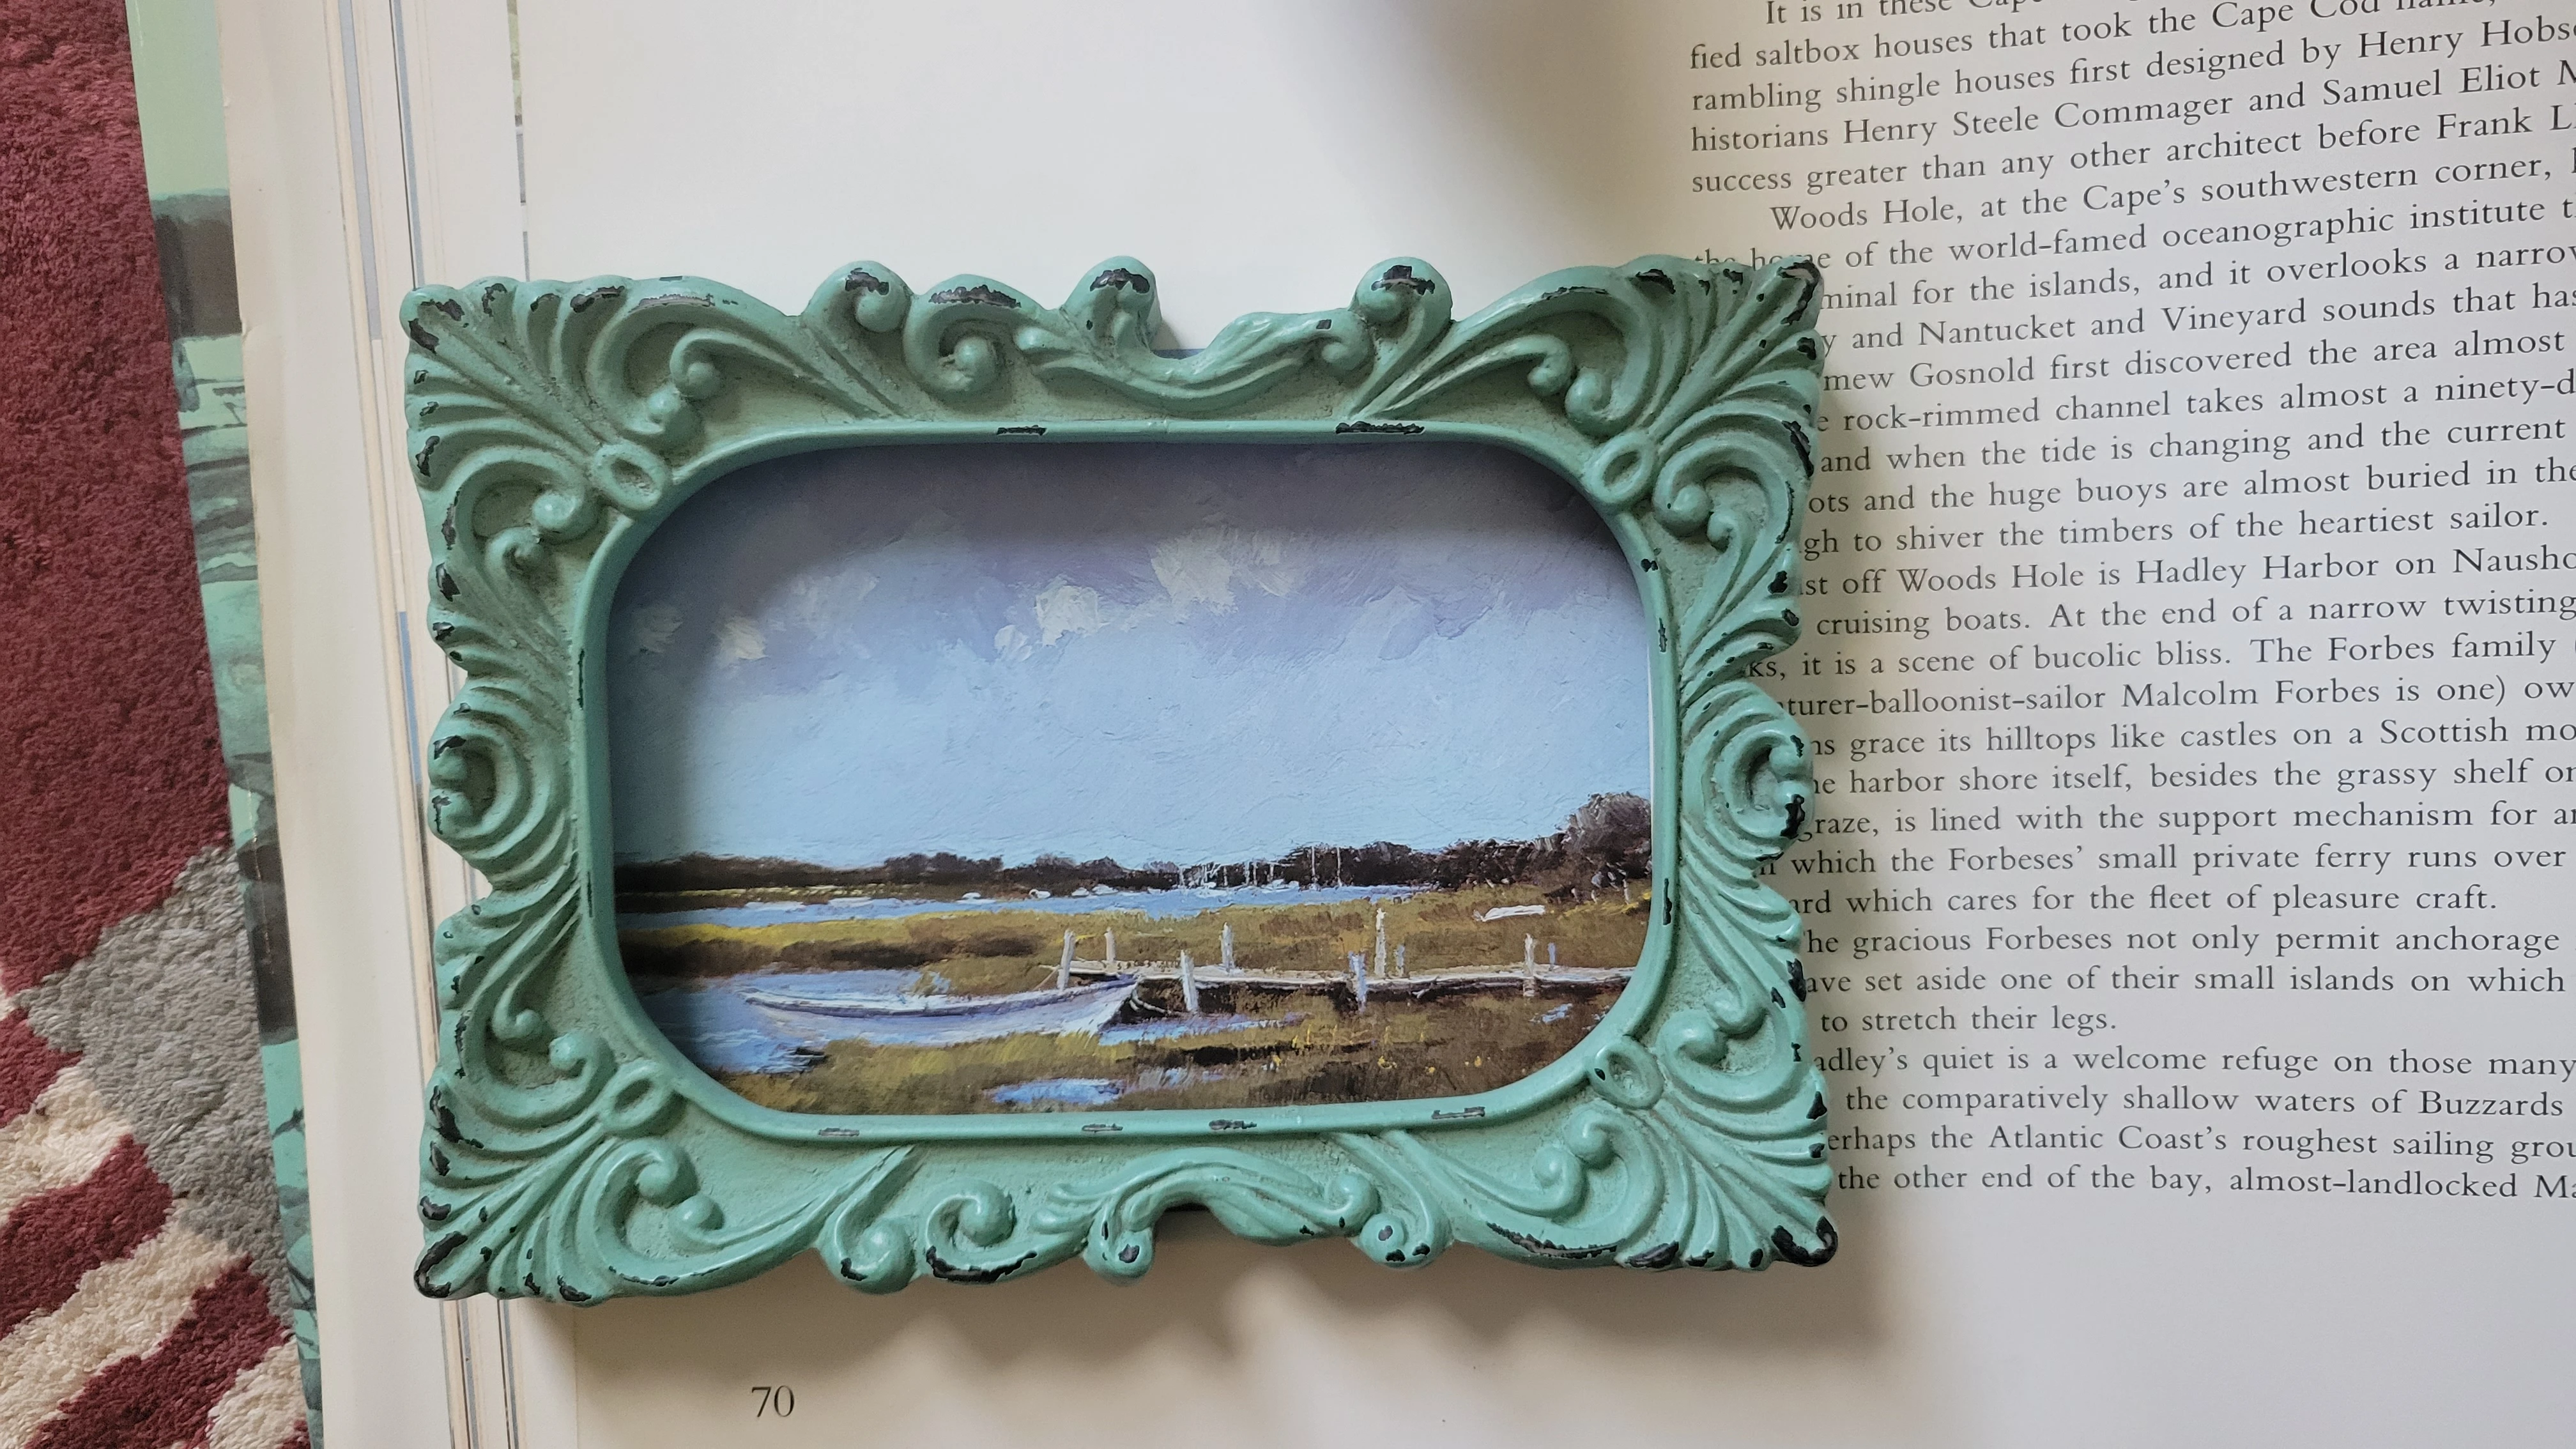
2. Browse the Pages for a Picture that Will Fit Your Frame
Something I like to do is to look through the photobook with the frame I am going to use. I'll overlay the frame over the pictures I think may work to see how it will look in the frame. The picture above was slightly bigger than my frame, however I still liked the way it looked through the frame so I decided to go with it and trim it down to the size of my frame.
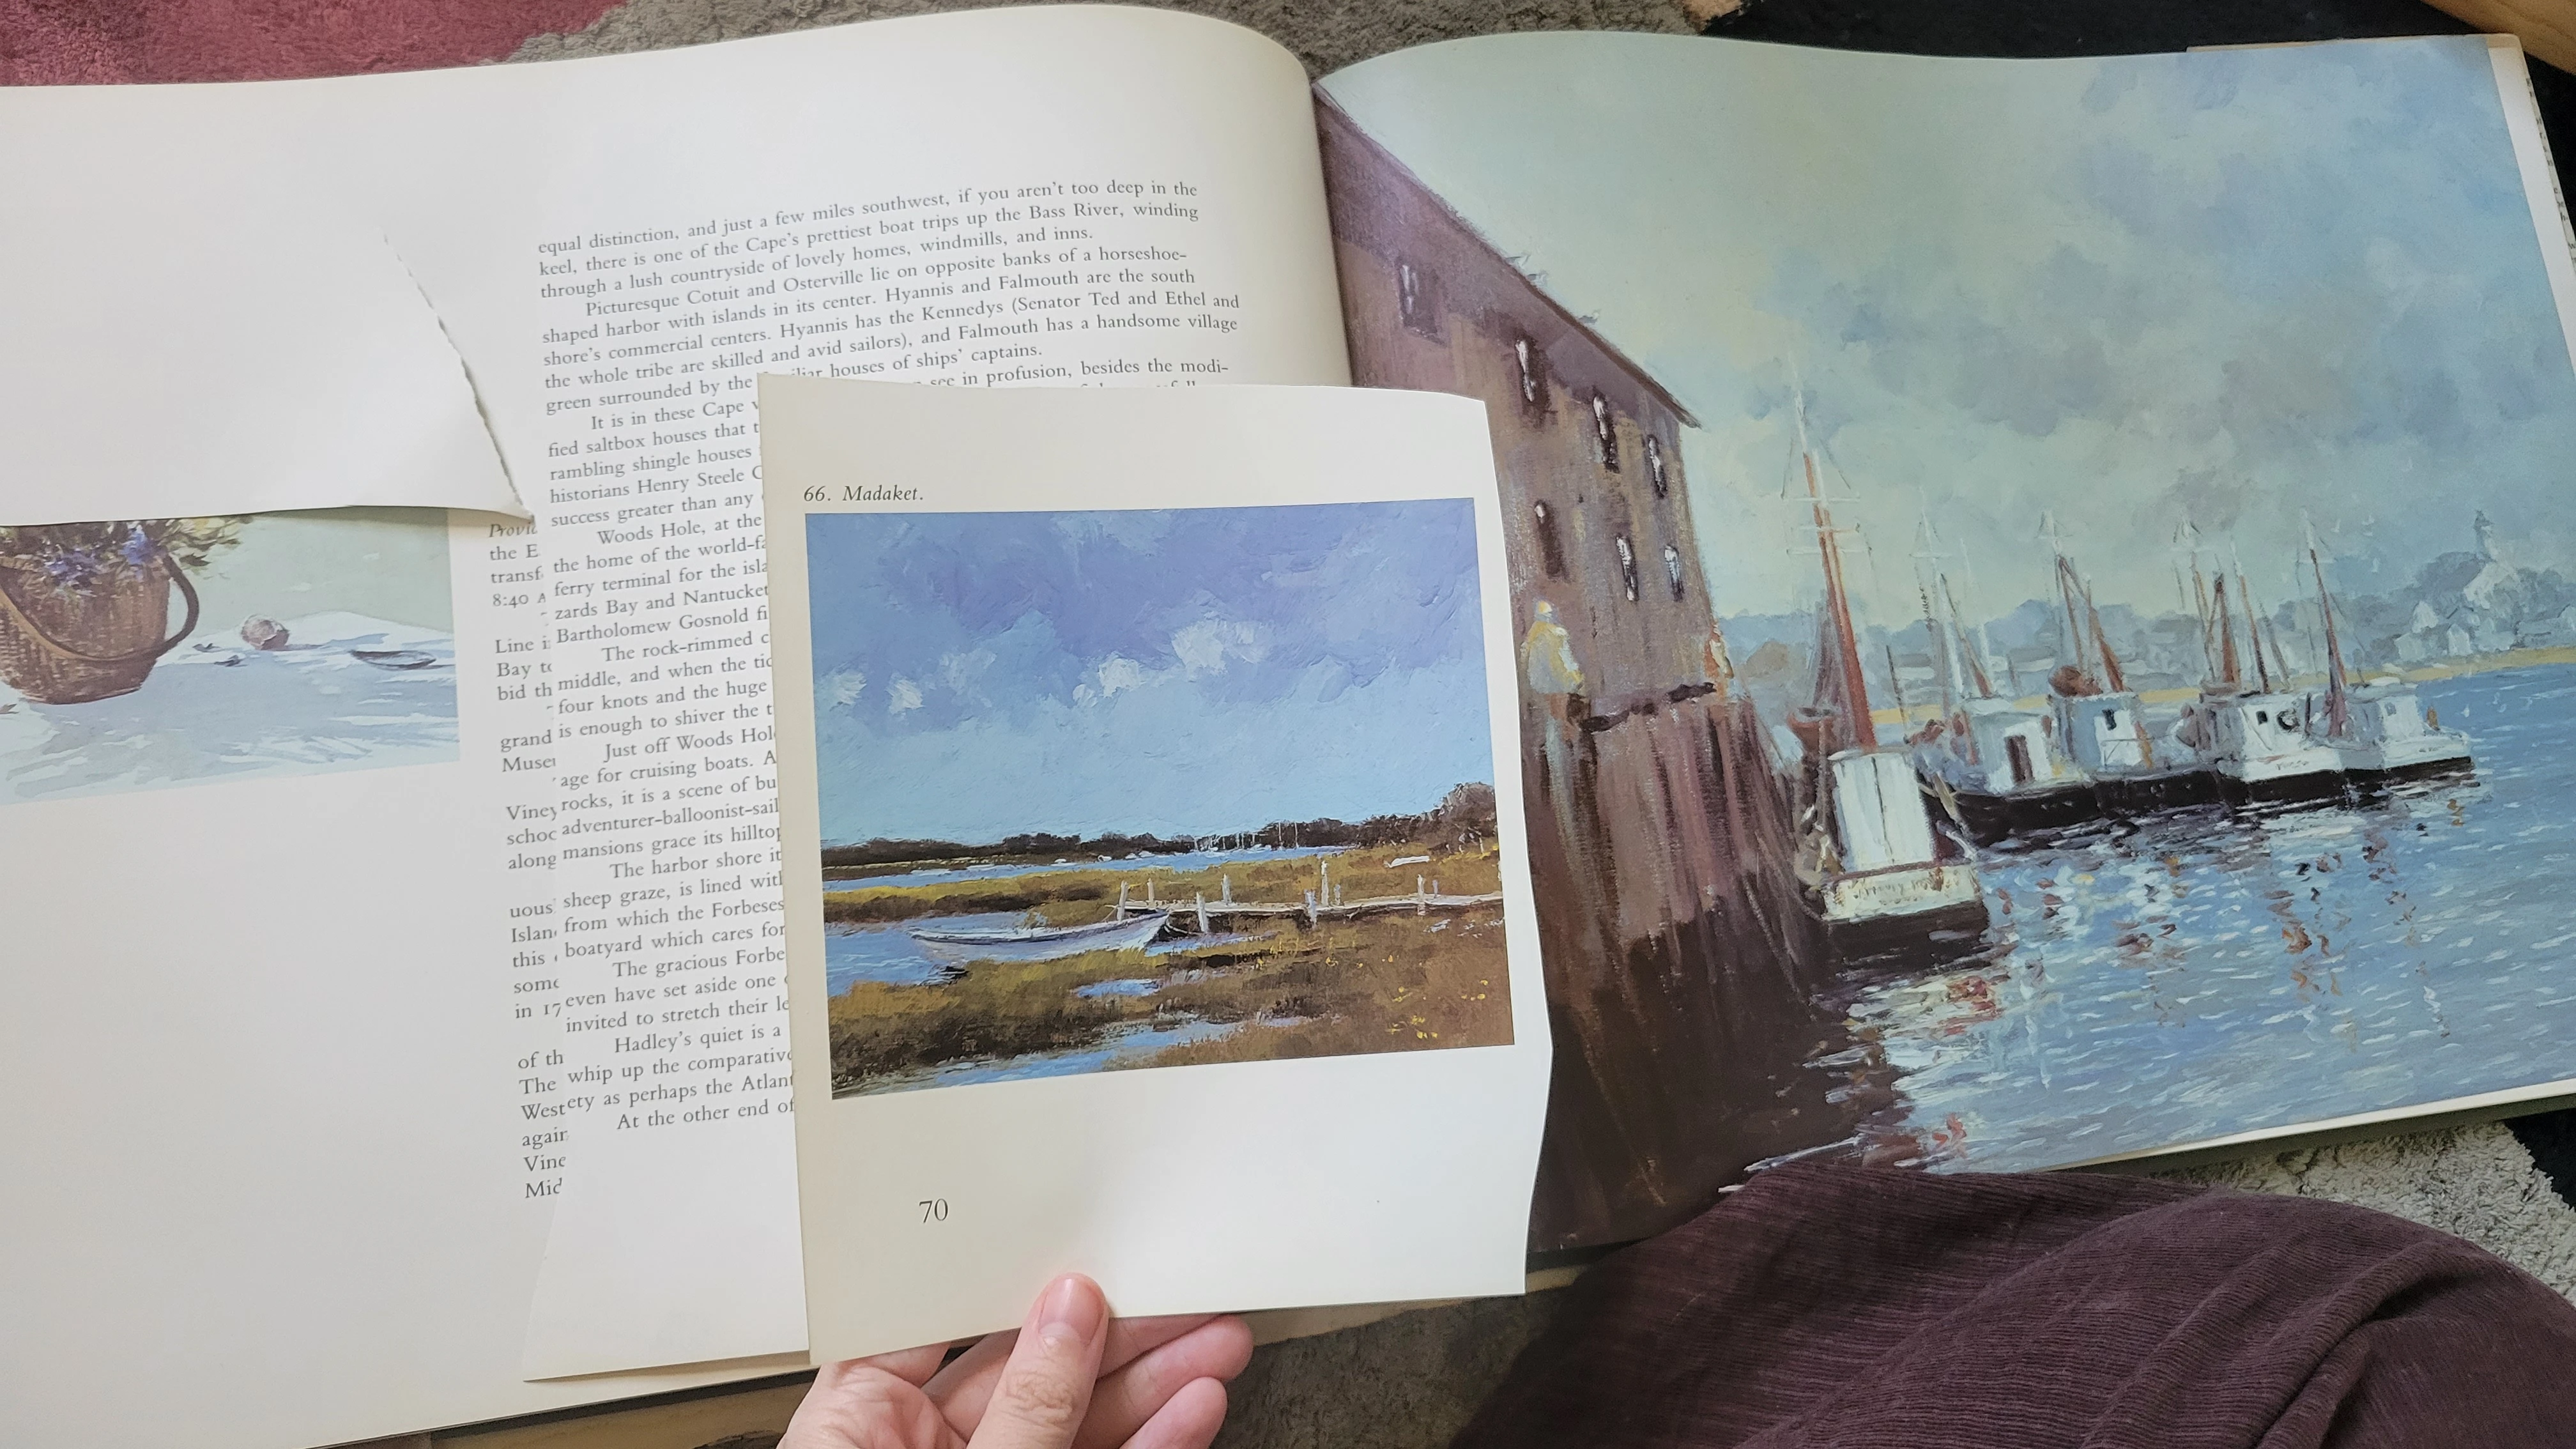
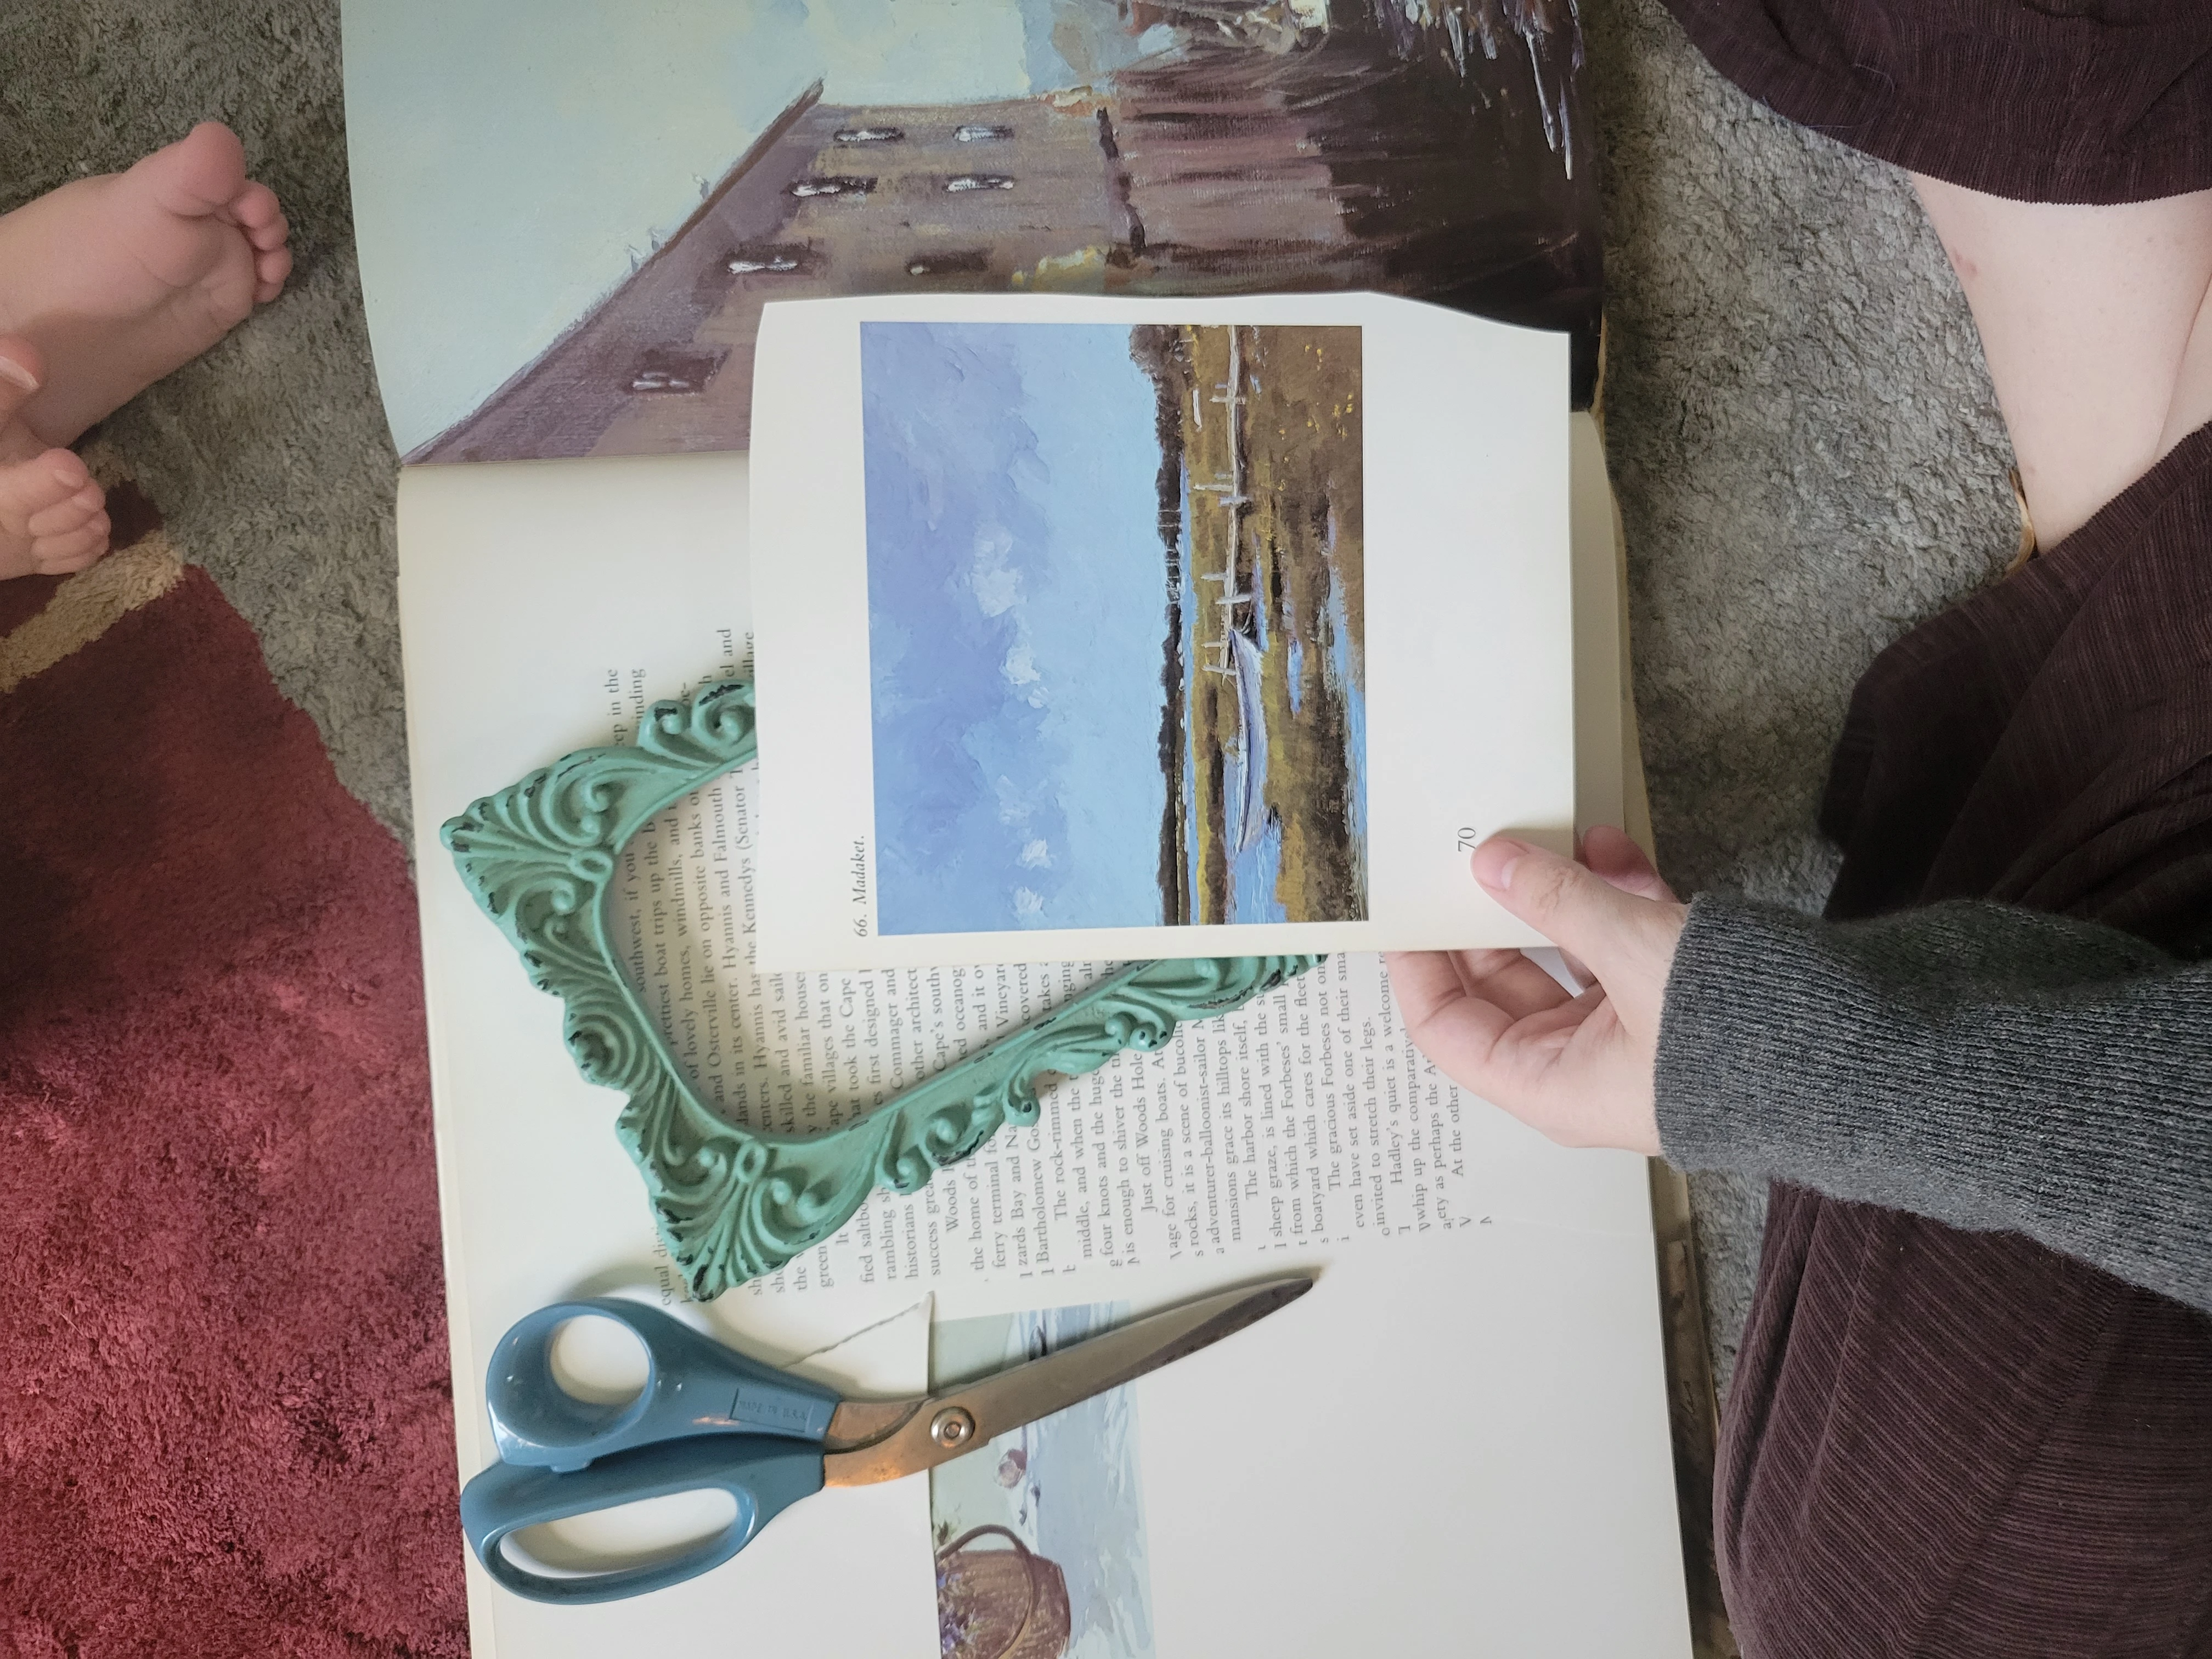
3. Cut Out The Picture for Your Frame
The next step is you are going to want to cut out the picture. Now at this point I don't cut the picture out to the exact size of the frame, my goal is just to get it out of the book so that I can cut it down more so that I can decide exactly what portion of the photo I want to keep and which part I want to get rid of.
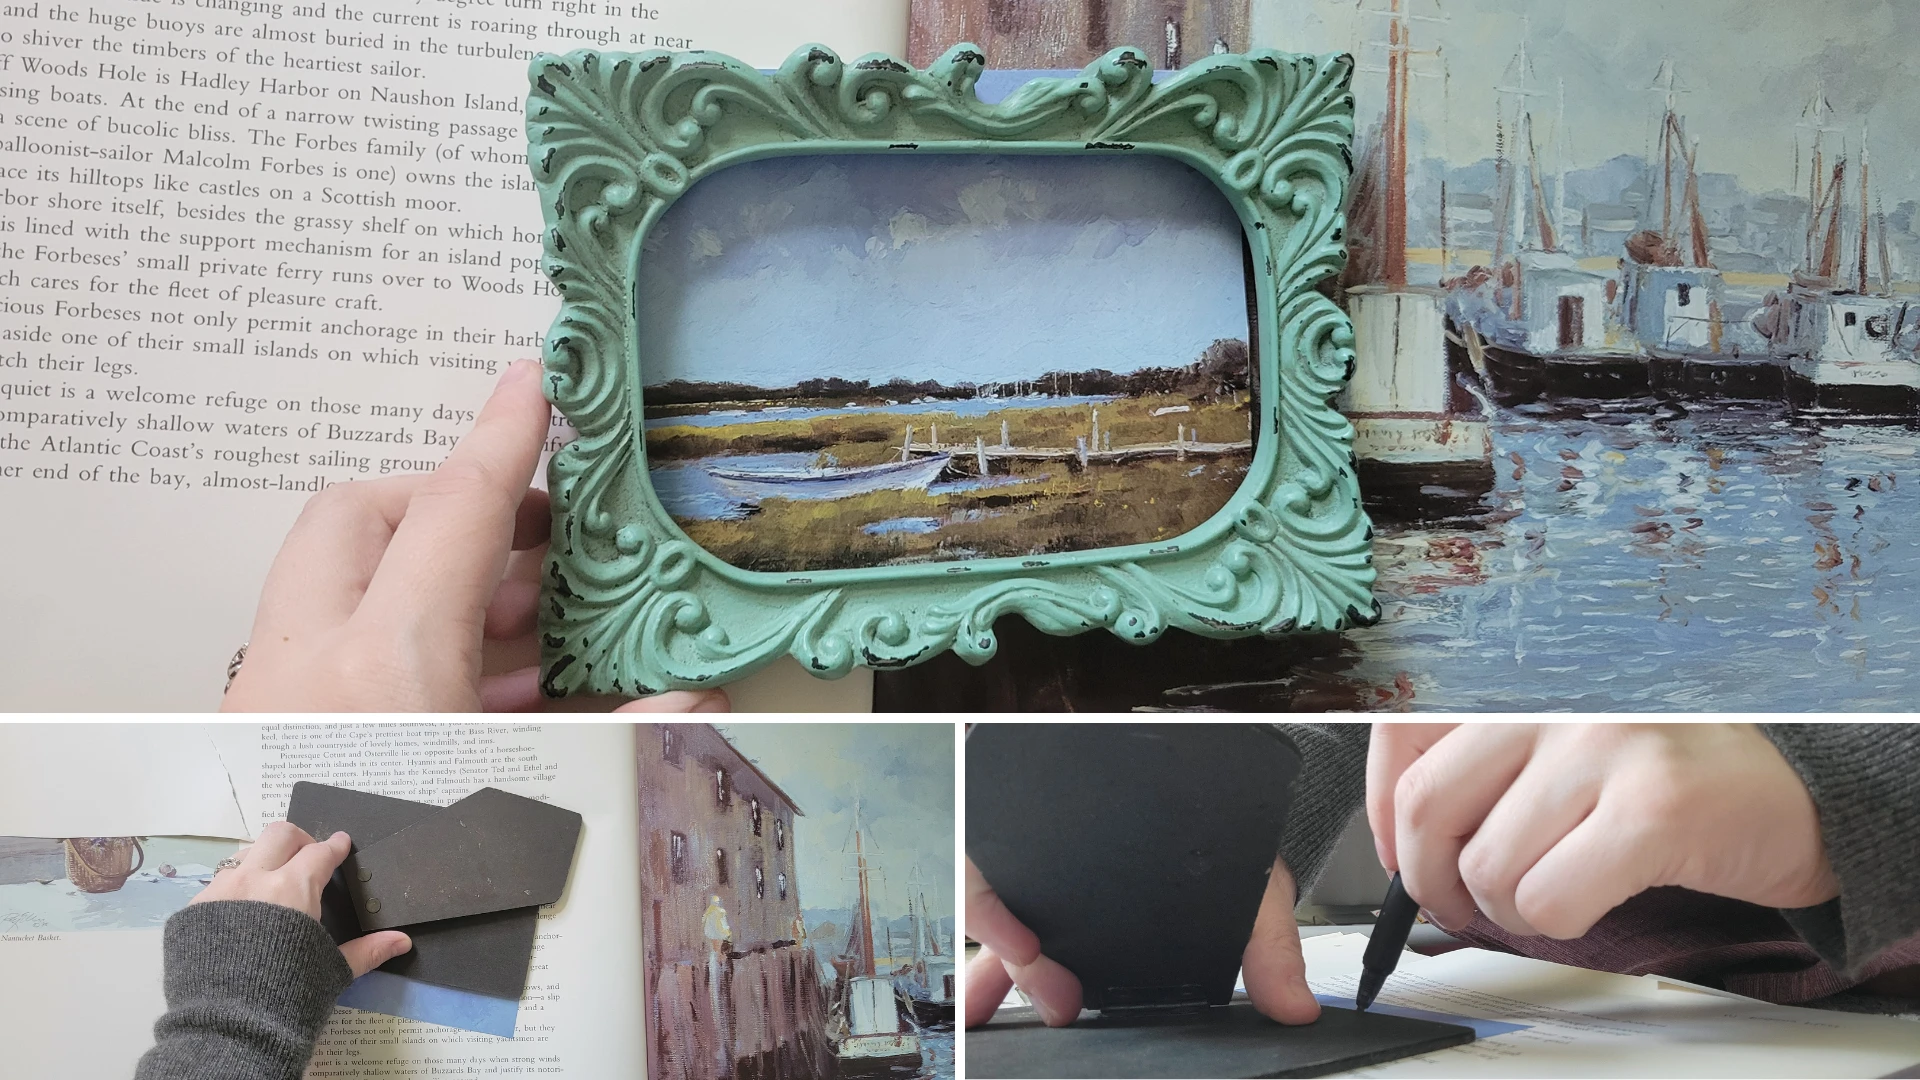
4. Trace the Dimensions of Your Frame to Your Photo
Once you have the picture cut, decide which portion of your picture you want to have in your frame. For this picture, the sky took up a lot of the picture and I didn't want to sacrifice any more of the landscape than I had to so I decided to cut out the portion of the sky as opposed to along the bottom. Once I had that decided, I laid the back piece of the frame over the picture and traced the back portion over the picture.
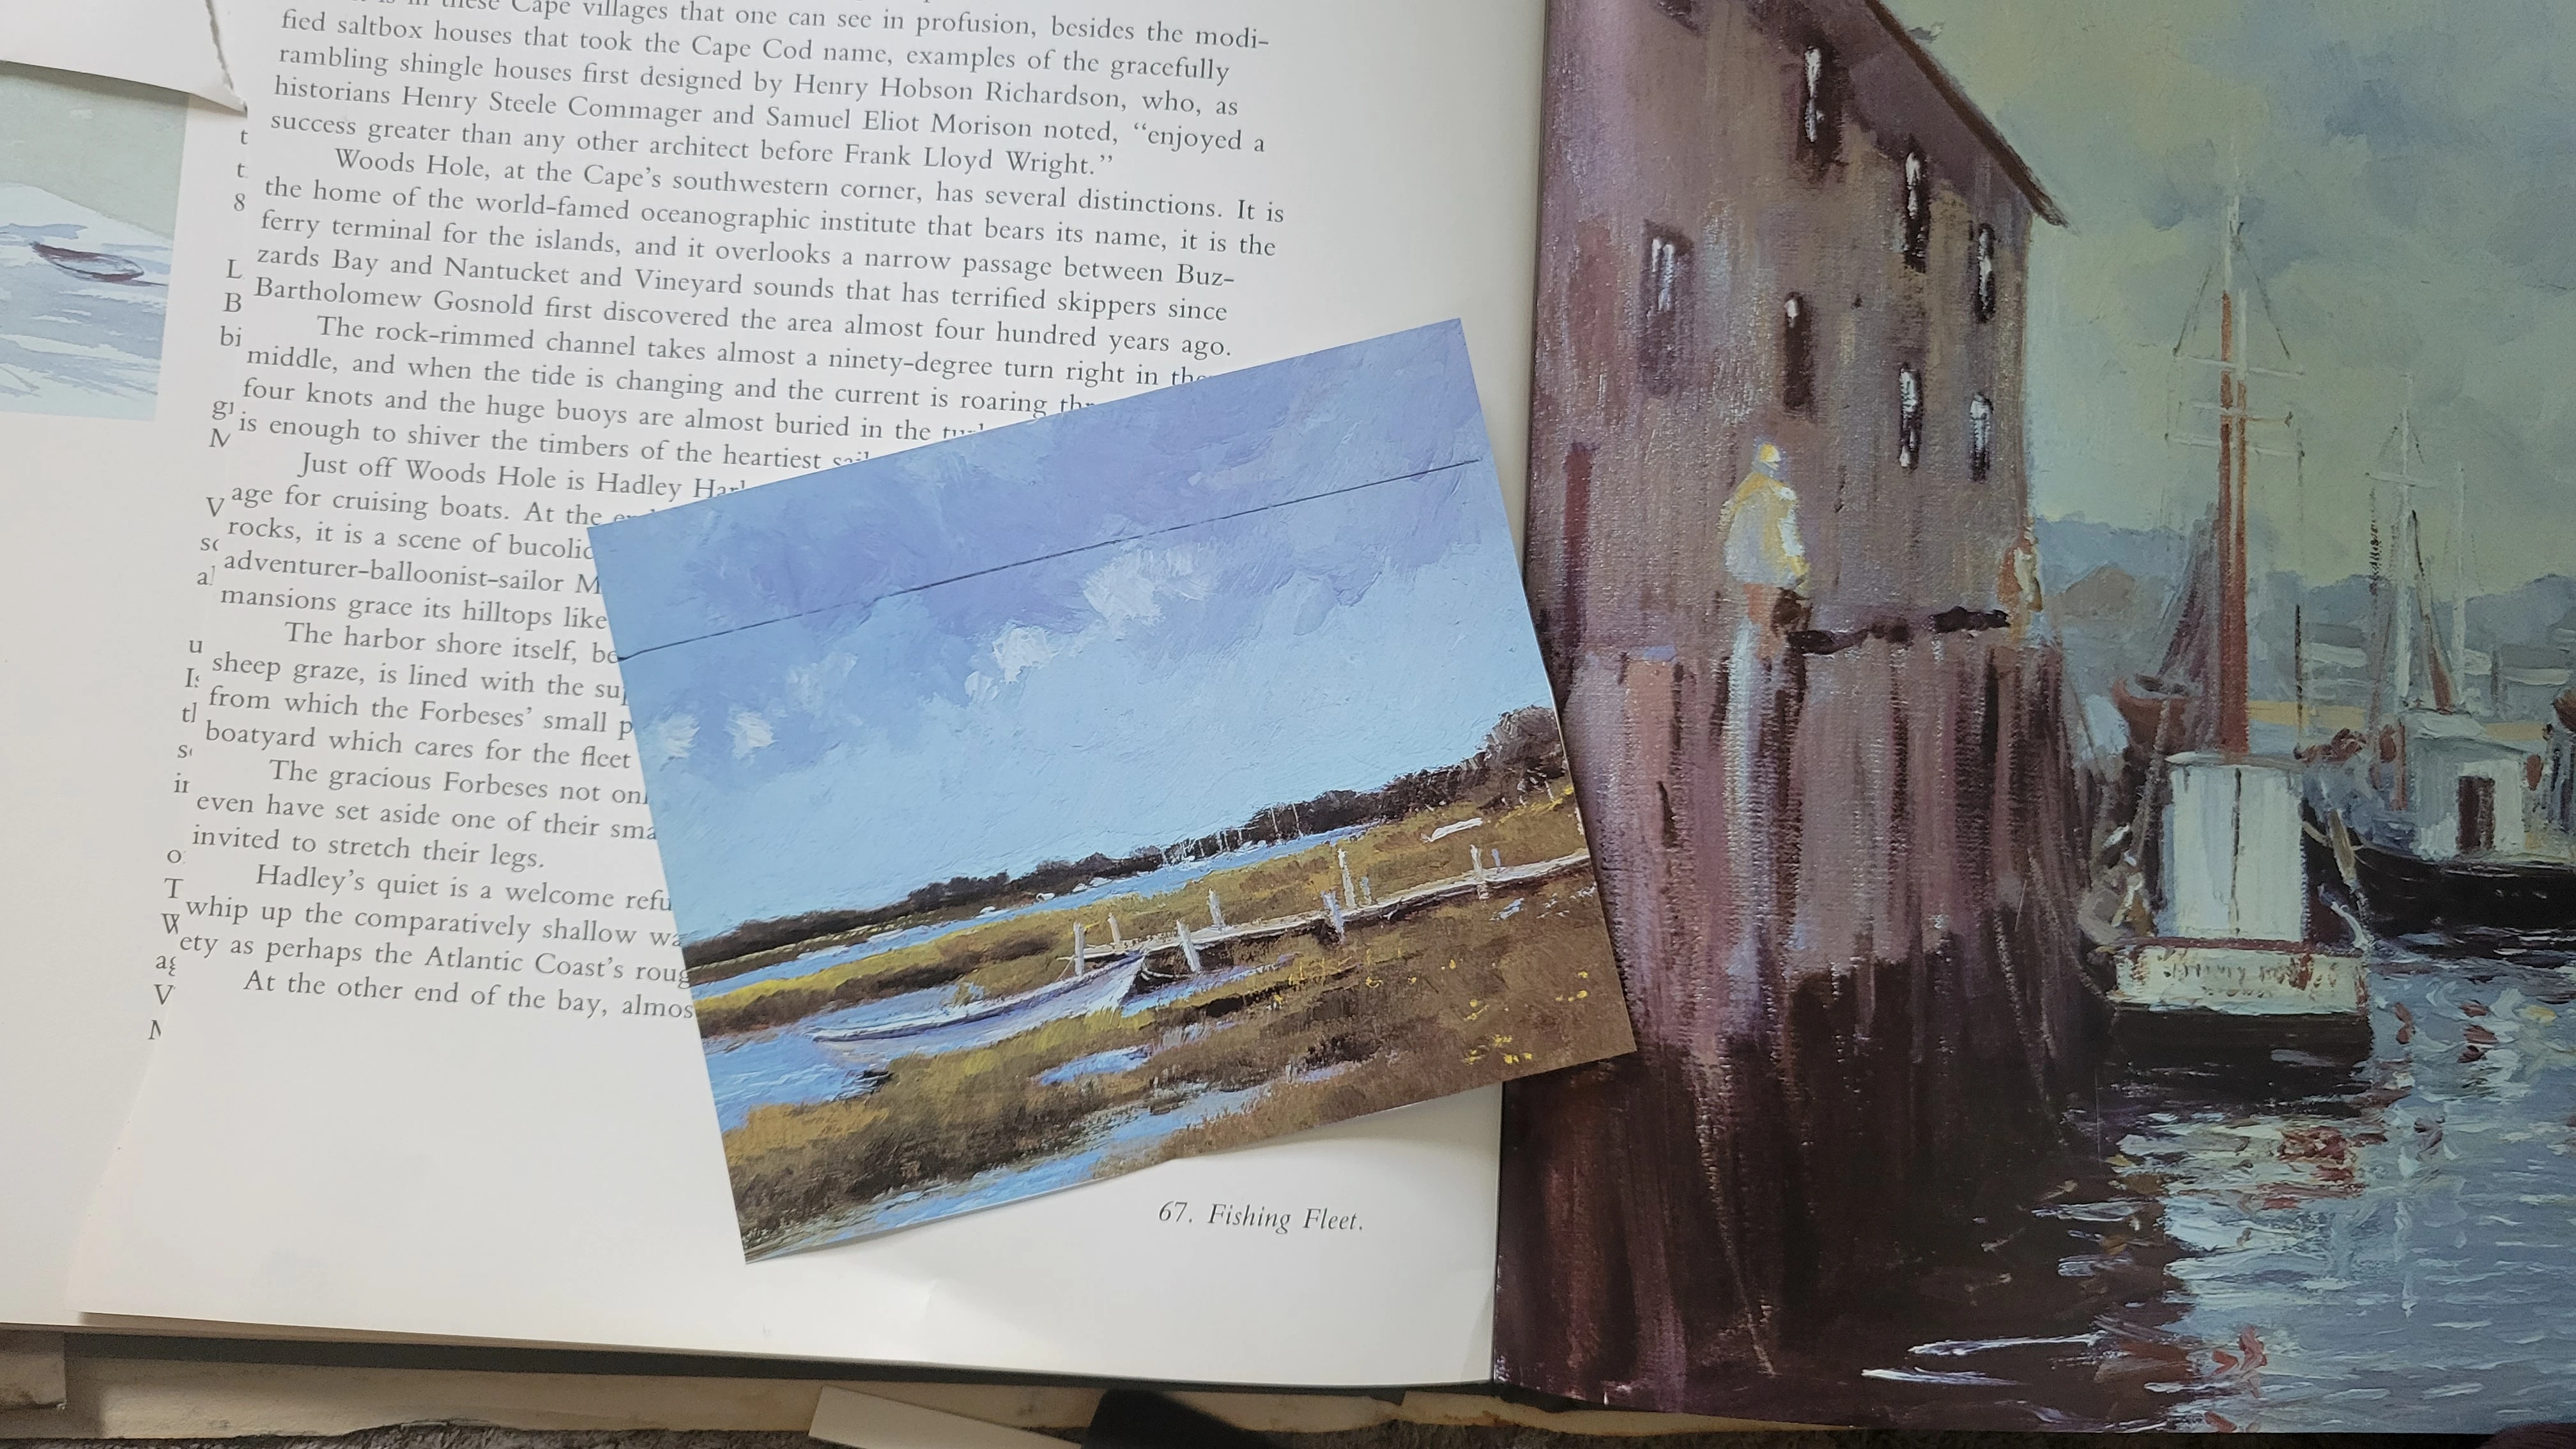
5. Cut Off Excess
Once I have the portion of the picture I want traced onto the photo, now it's time to cut down to the size of the frame. Be sure to take your time with this one so that it will fit well in your frame.
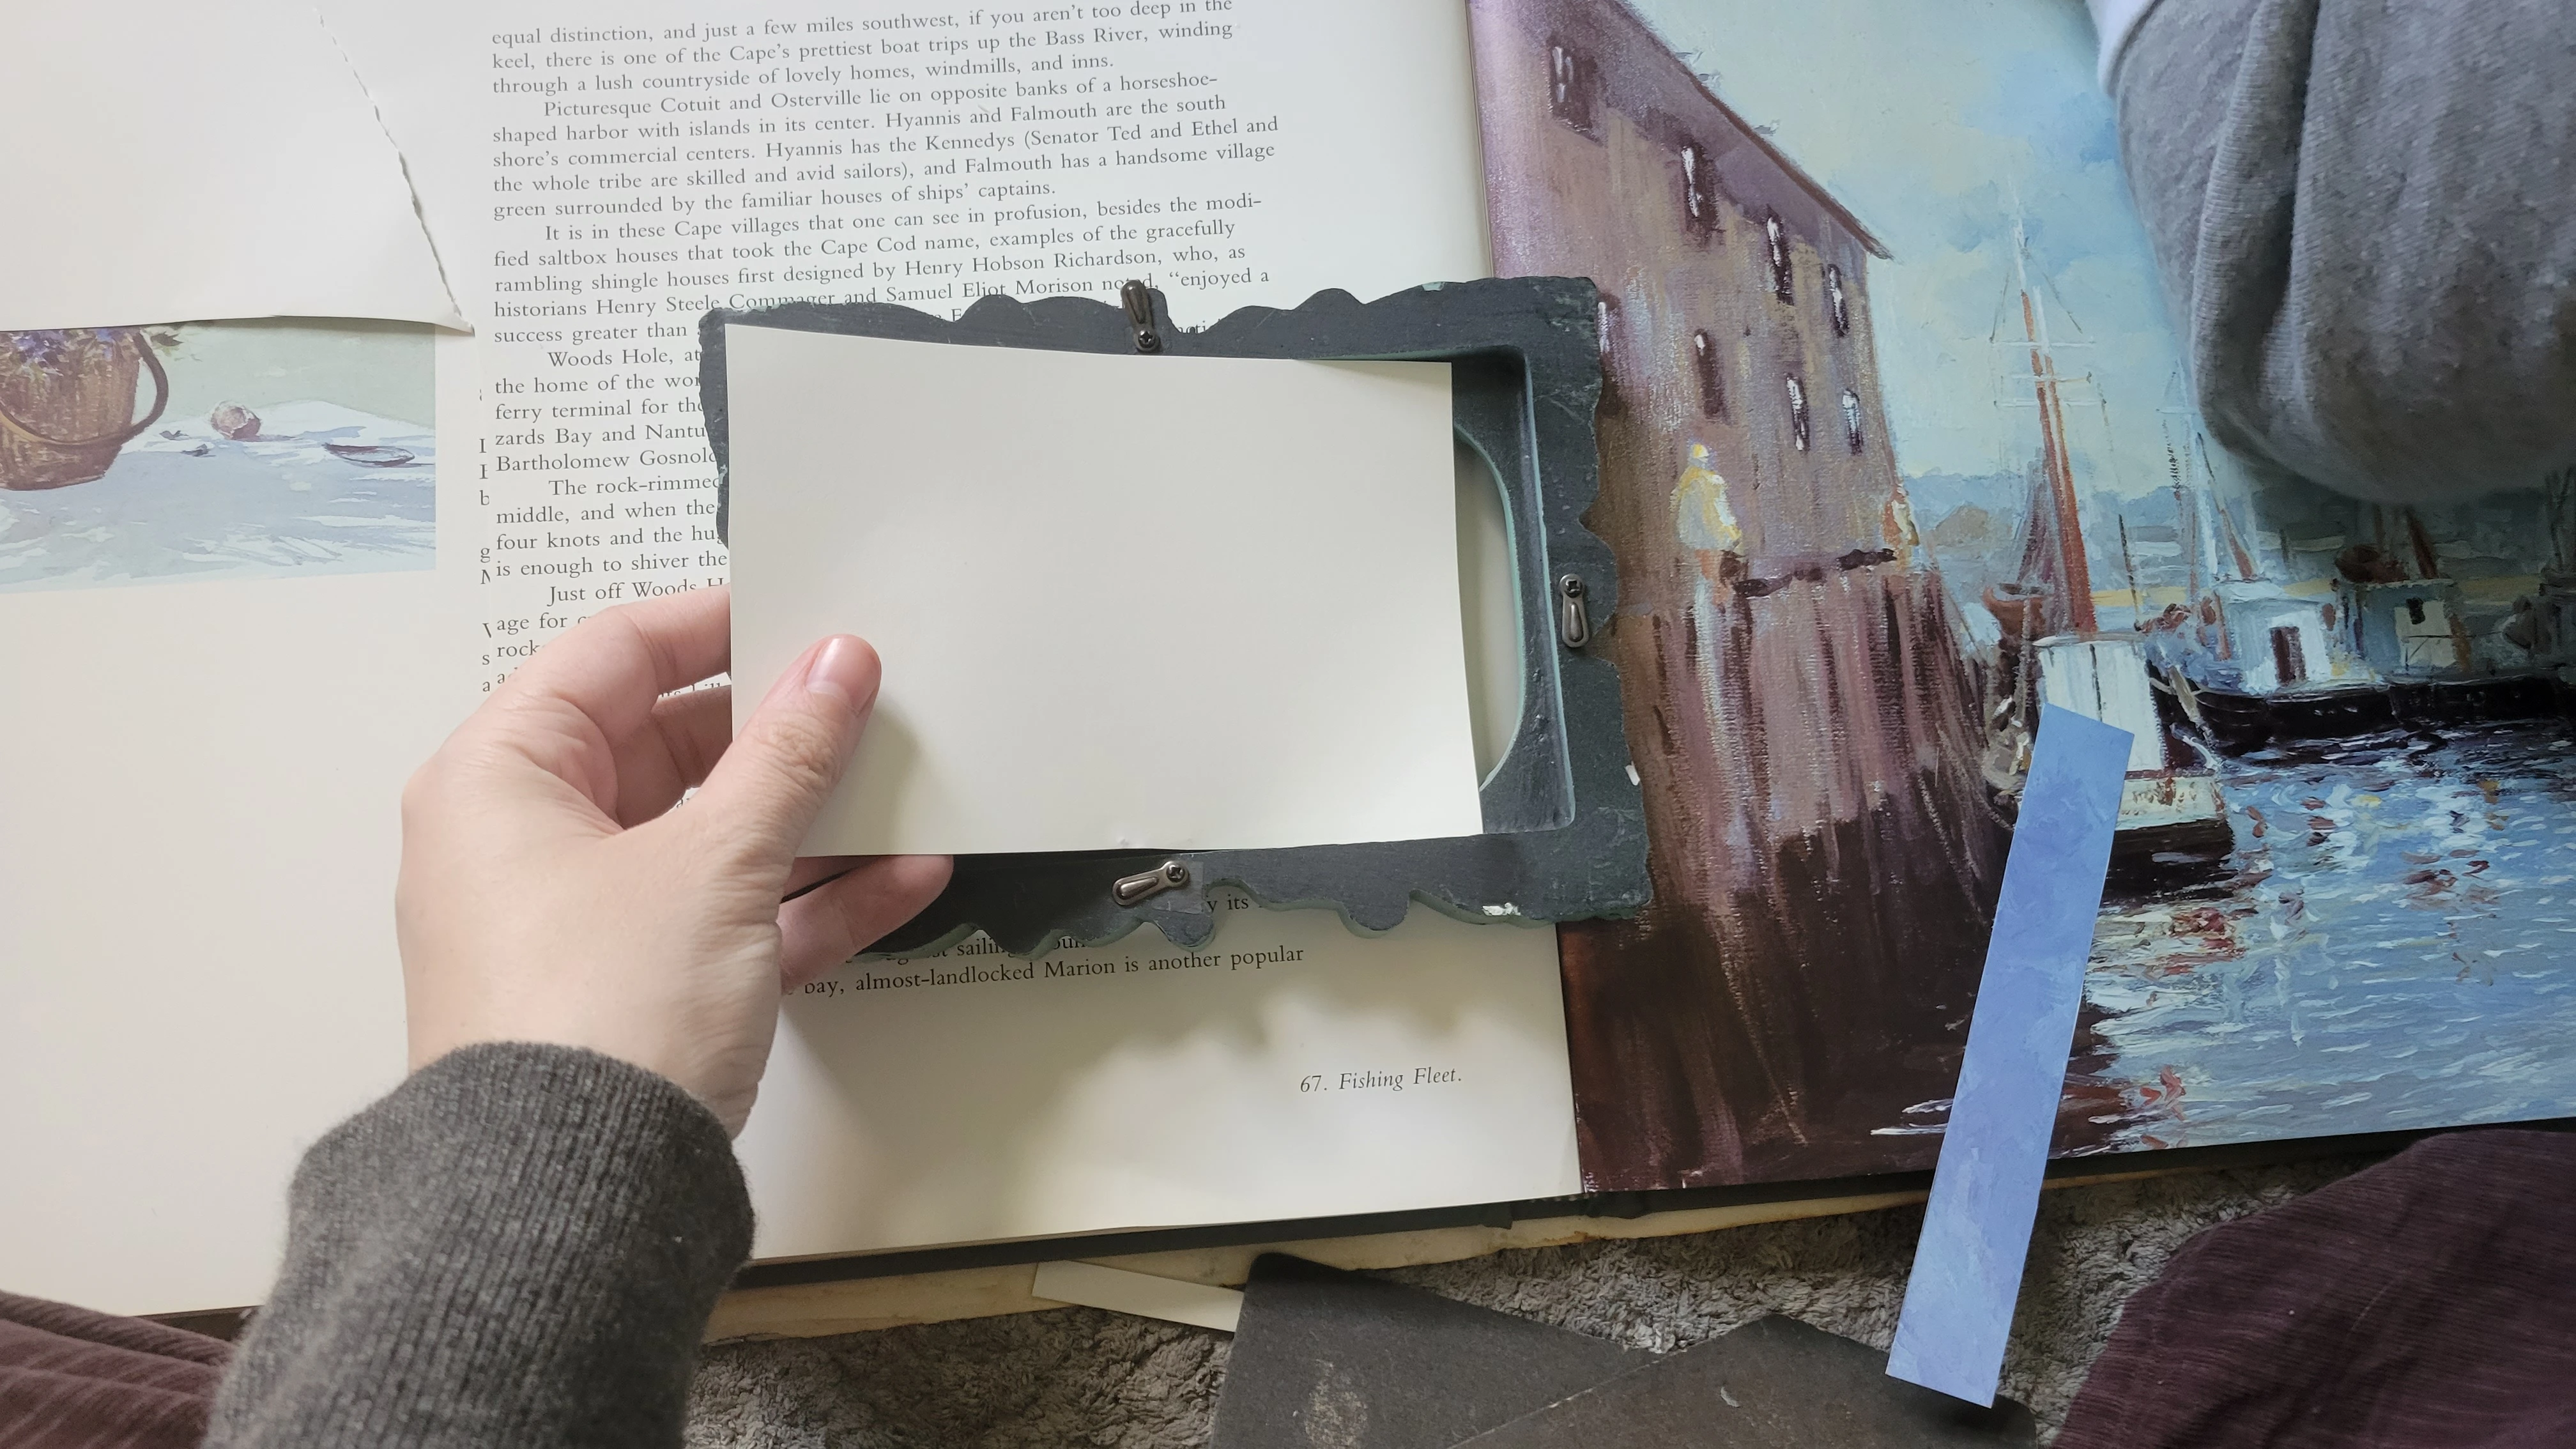
5. Frame and Display Your Art
Place the photo into the frame and display your art!
Where You Can Purchase Supplies
- Photobooks with Painting by Monet: Heinrich,
- Photobooks with Painting by Van Gogh: Walther, Metzer,
- Photobooks with Painting by Da Vinci: Zollner,
- Photobooks of Impressionist Art: Grimme,
- Photobook of Floral Prints: Hydrangeas, Peonies,
- Photobook of Landscape Prints: Rome, Great Escapes of Europe,
If you like this content, please share this blog post with other moms.
Thank you so much for reading till the end, your support means the world to me. Feel free to follow me on Social Media where I host more content just like this! You all are amazing and I hope you have a blessed day! Thanks!
